
5 years of DevFest CountDown - Part 1
I organize the DevFest Nantes as a volunteer of GDG Nantes for 7 years already.
If you don’t know what “DevFest” is, it’s a worldwide event lead by the GDG community. You can have a look here DevFest With Google.
Each year we work very hard to provide the best experience for our attendees. We try to make DevFest Nantes the most accessible (only 90€ for 2 days with food, goodies, party, conference, …). And one of the things I’m responsible for is the Countdown! Indeed, if you already go to Google I/O, you know that when you are waiting for the launch of the keynote, Google prepares a nice Countdown animation to let you play with the other attendees! We love so much this experience that we tried to create ours to keep that spirit. In this article, I will try to share those countdown and try to explain to you what I’ve learned with each of them.
Before 2014
Before I started to write my own Countdown, I first reused a public countdown created for Google IO 2011: HTML5 Countdown Finale. It works pretty well but it was not linked to our graphical Theme. That’s why I started in 2014 to create my own countdown
2014
The idea
Before starting to think about “Interactivity” I had to take time to check that everything works well! That’s also our mantra in DevFest Nantes, always build better over something strong! So for the first Countdown, I started following the KISS approach: No Framework, No modules, just a simple HTML with a little bit of CSS.
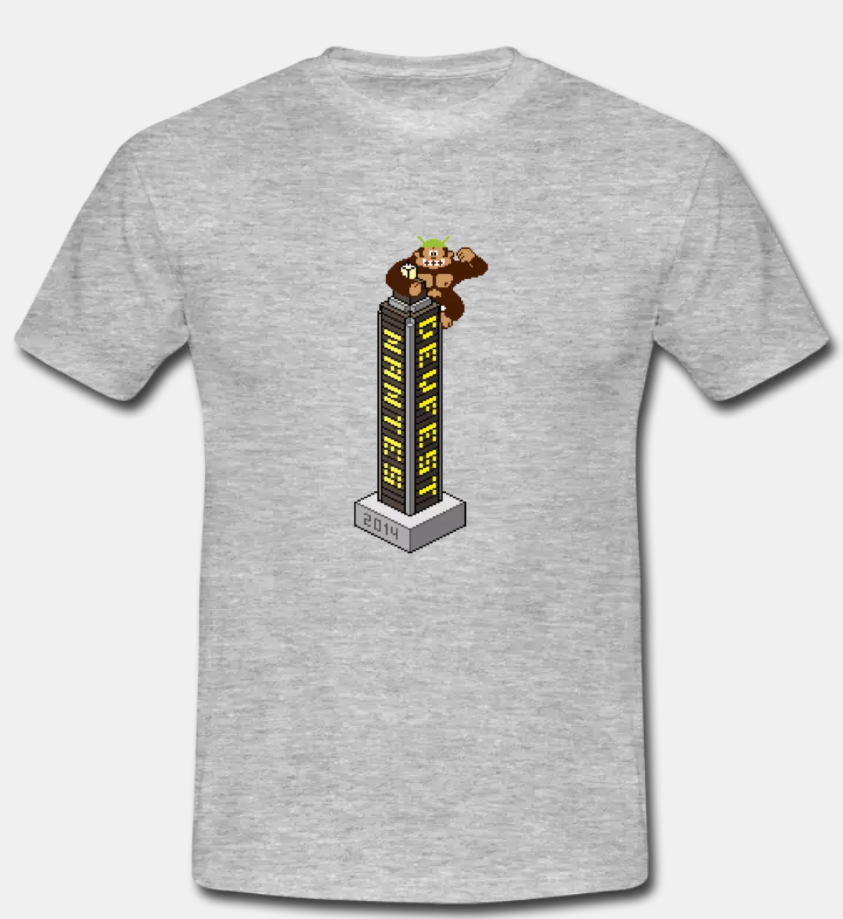
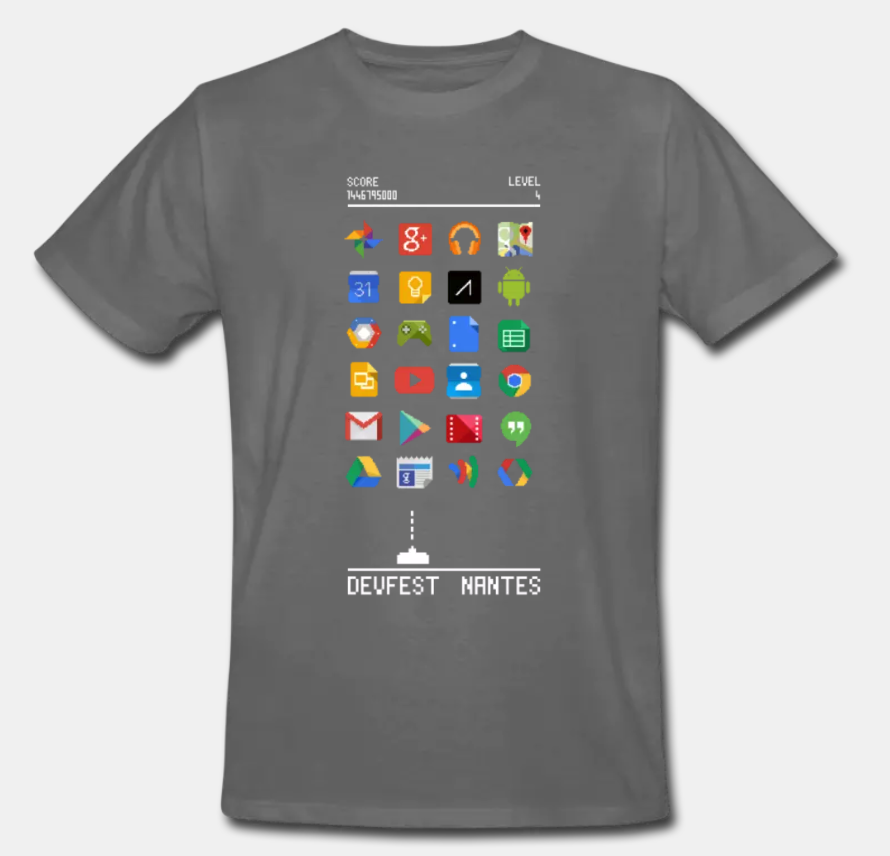
The basic idea of this Countdown was to animate the DevFest Nantes t-shirt.
This project allowed me to think about the mandatory steps of Countdown :
- Play music until the countdown is over
- Launching a video when the countdown is over
Behind this 2 steps is hidden a basic complexity. How to check the current time without blocking the UI? How to play both music and video?
Time management
For the first year, I didn’t use the best solution: setInterval but it’s something that won’t block the UI! Today, I prefer to use requestAnimationFrame. Indeed, one of the most important points is to avoid to blocking the event loop.
var cibleDate = Date.parse('2014-11-07T08:35:00Z') |
Playing a song
For the second problem, even if there is a Web Audio API a simple <audio> tag hidden in the page does the job very well! In 2014, there wasn’t the restriction of autoplay policy so I could easily play a sound with this code :
// Index of the current song in the playlist |
Graphical challenge
The only challenge I faced was with the CSS. To play with the good text transformation. So for this HTML:
<div class="conteneur"> |
You will have this CSS:
// Parent container |
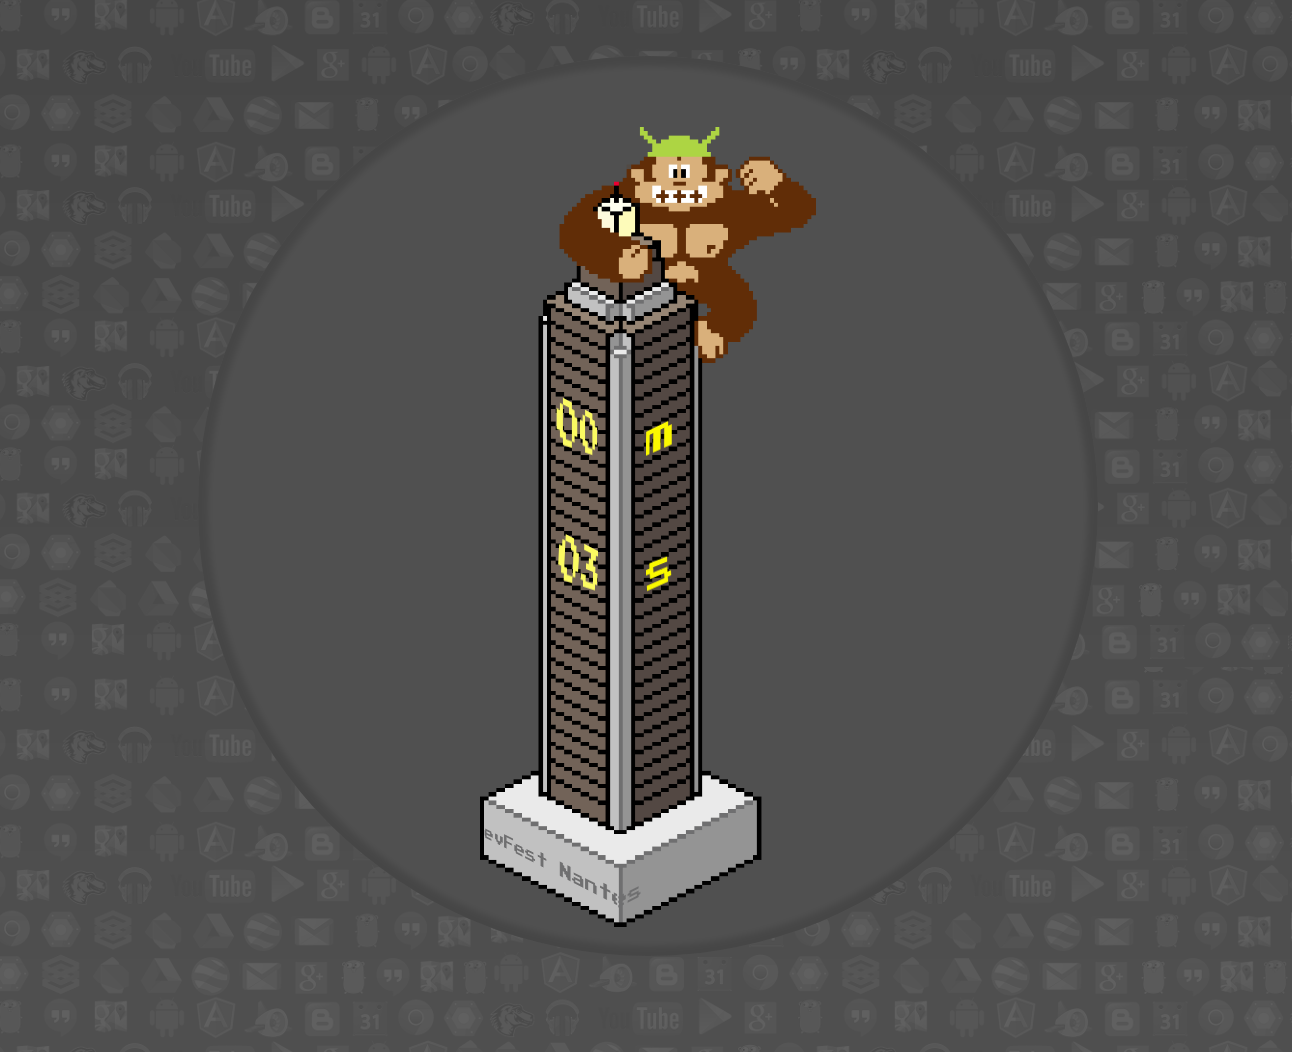
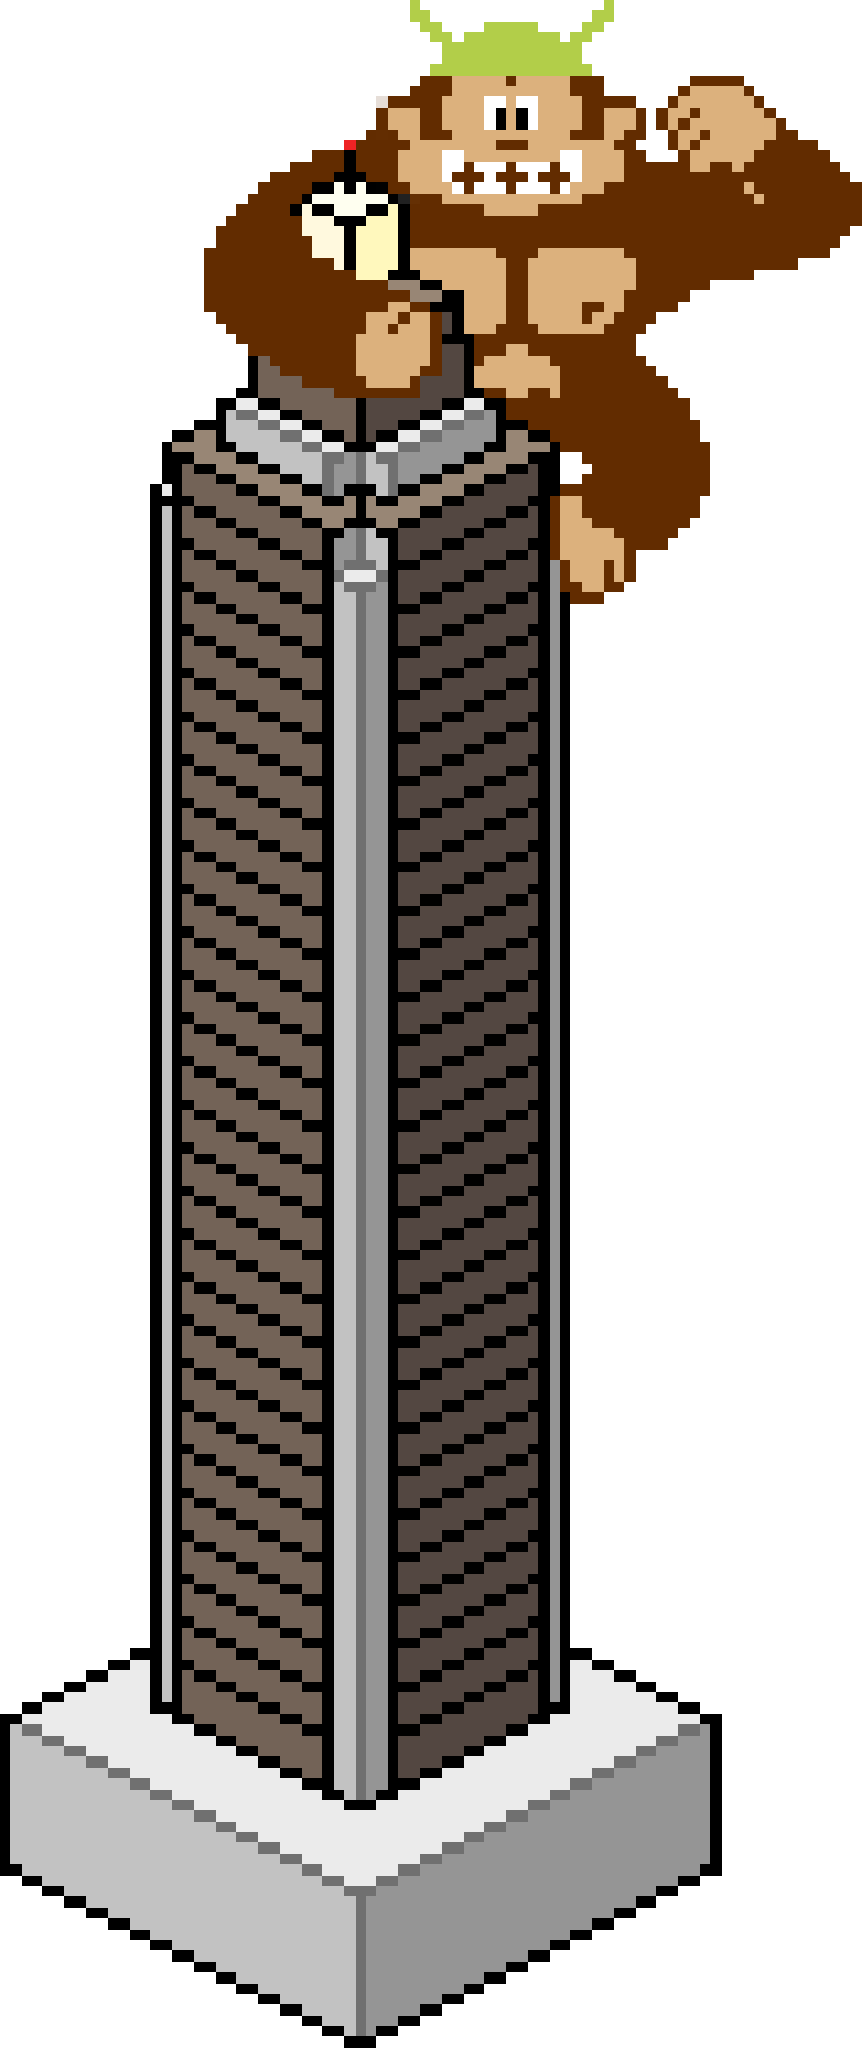
This gives you this result
And the last thing to do was to animate the text at the bottom of the tower. I used the marquee tag because it’s targeted to animate text in a box! Here, the problem comes to the fact that I have 2 faces in my tower and I want to give the impression that the text “slides” around the tower. To create this effect, I had to use 2 marquee and play a timeout that corresponded to the duration of the move of the text.
<marquee behavior="scroll" direction="right" class="marquee_1">DevFest Nantes</marquee> |
marquee_1.style.display = 'none'; |
Here is the result :
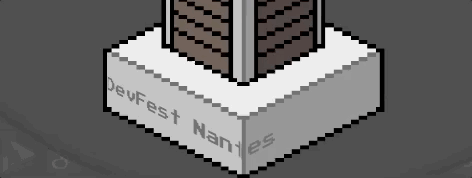
As you can see, there are lots of things to enhance. But it does the job, a unique countdown linked to DevFest Nantes identity!
Code & demo
You can find the code here: CountDown DevFest 2014.
If you want to see it in action, have a look here CountDown 2014
2015
The idea
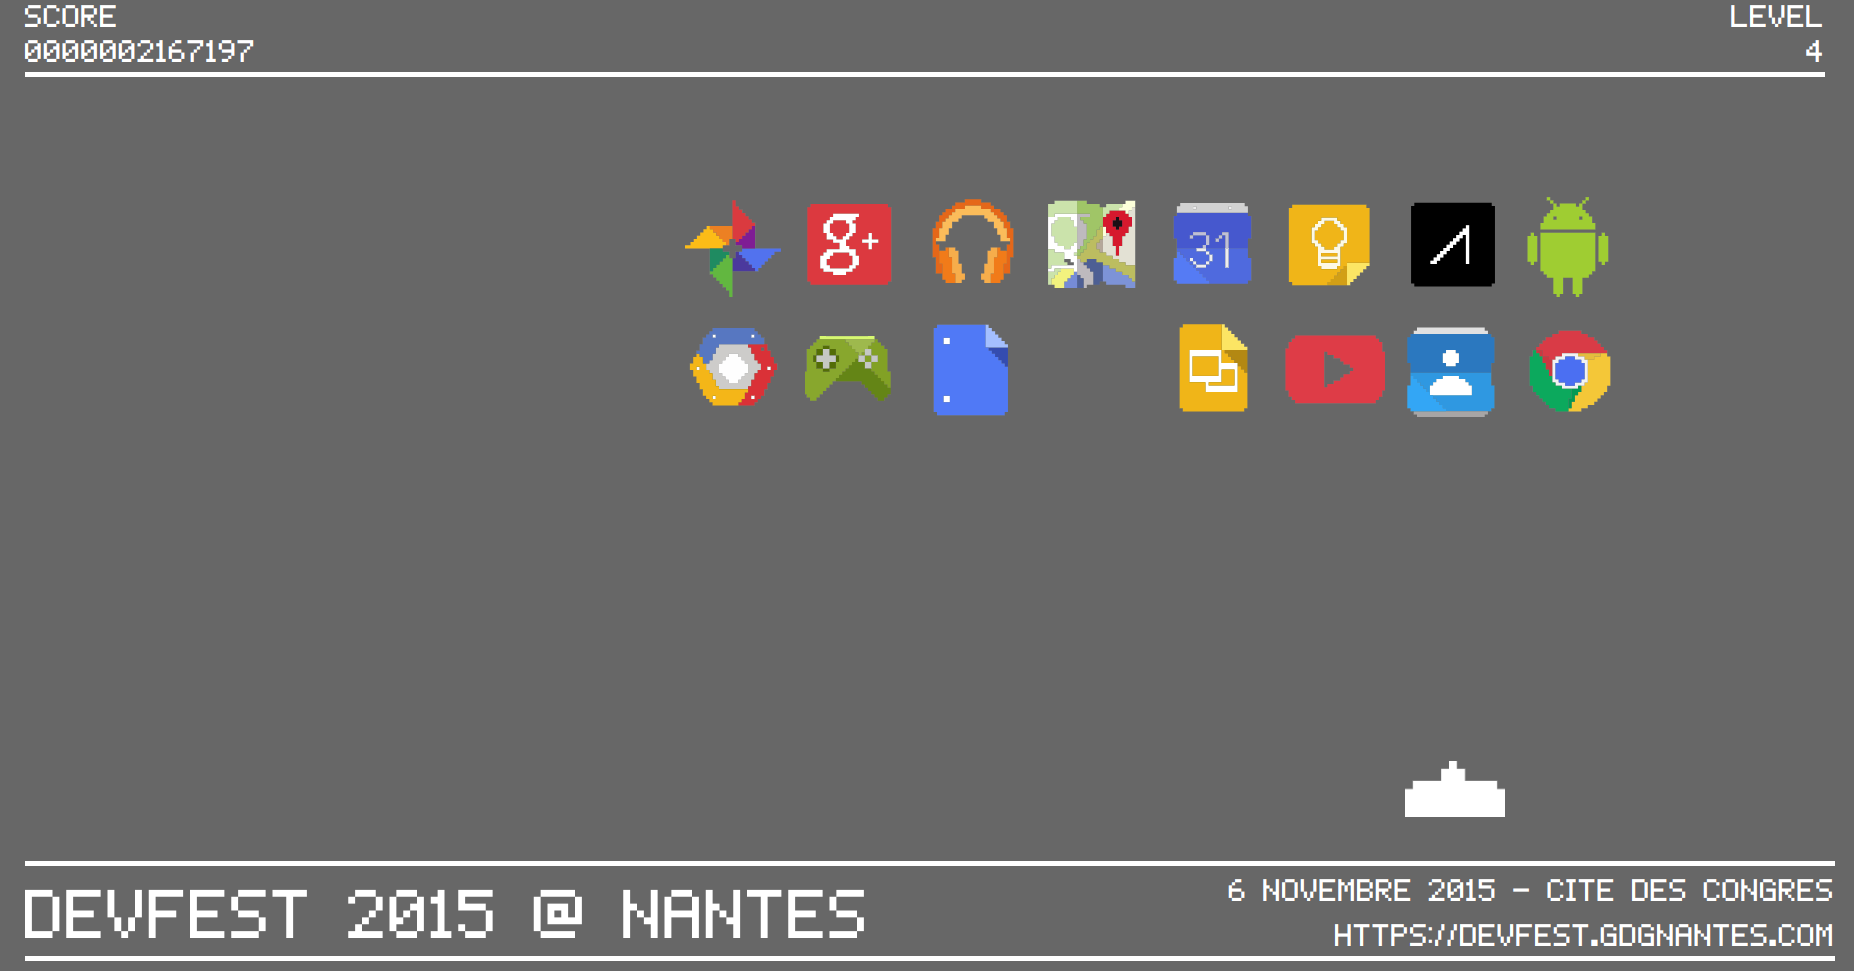
In 2015, the DevFest Theme was the retroGaming. So again, the countdown was inspired again by the t-shirt :
The idea was to simulate a real “Space Invaders”. As the t-shirt shows a space invader destroying Google technologies logos. I tried to animate the spaceship in order to destroy the last logo at the last second.
New Challenges
For this version, I tried to keep it as simple as I could, I just introduced a minor toolchain for compiling my Sass files. The main challenge here was to calculate when to destroy or not a logo and how. For a smooth animation, I used a Canvas. As I started to play with canvas, I had to rethink some aspects: Animation, Ressources loading. I reused the work of the previous year for the time management except that I started to use the requestAnimationFrame instead of setTimeout. Indeed, using requestAnimationFrame is something mandatory when you want to create something smooth. To understand why it is important, I encourage you to read more articles about the Javascript EventLoop.
Or have a look at this conference from Jake Archibald about event loop:
Resources management
When you want to deal with resources in video games, it’s recommended to use ‘sprite’ image. ‘Sprites’ let you download all resources in one time. As HTTP2 is not present everywhere. It’s better to download 1 file than several. The browser cannot open more than 6 (for chrome) separated threads for download, so favor the one big cookie download.

When you deal with ‘sprites’ images, you have to position your cursor when you draw. With this technique, you will minimize the number of assets loaded in memory and gain some time on your first load.
The main idea is to position your cursor and draw it your context:
context = canvas.getContext('2d'); |
In my case, I created a map to have a reference for each logo in the sprite. This map allowed me animate each logo and keep a reference of its original position in the sprite :
positionLogos = { |
Using a key will let me have a reference of each sprite.
Animate the matrix
What I will display on the screen is a grid of 3 rows of 8 logos. Each logo will have a position in the grid and will move between at maximum from 4 steps in the x axis and 1 step in the y axis.
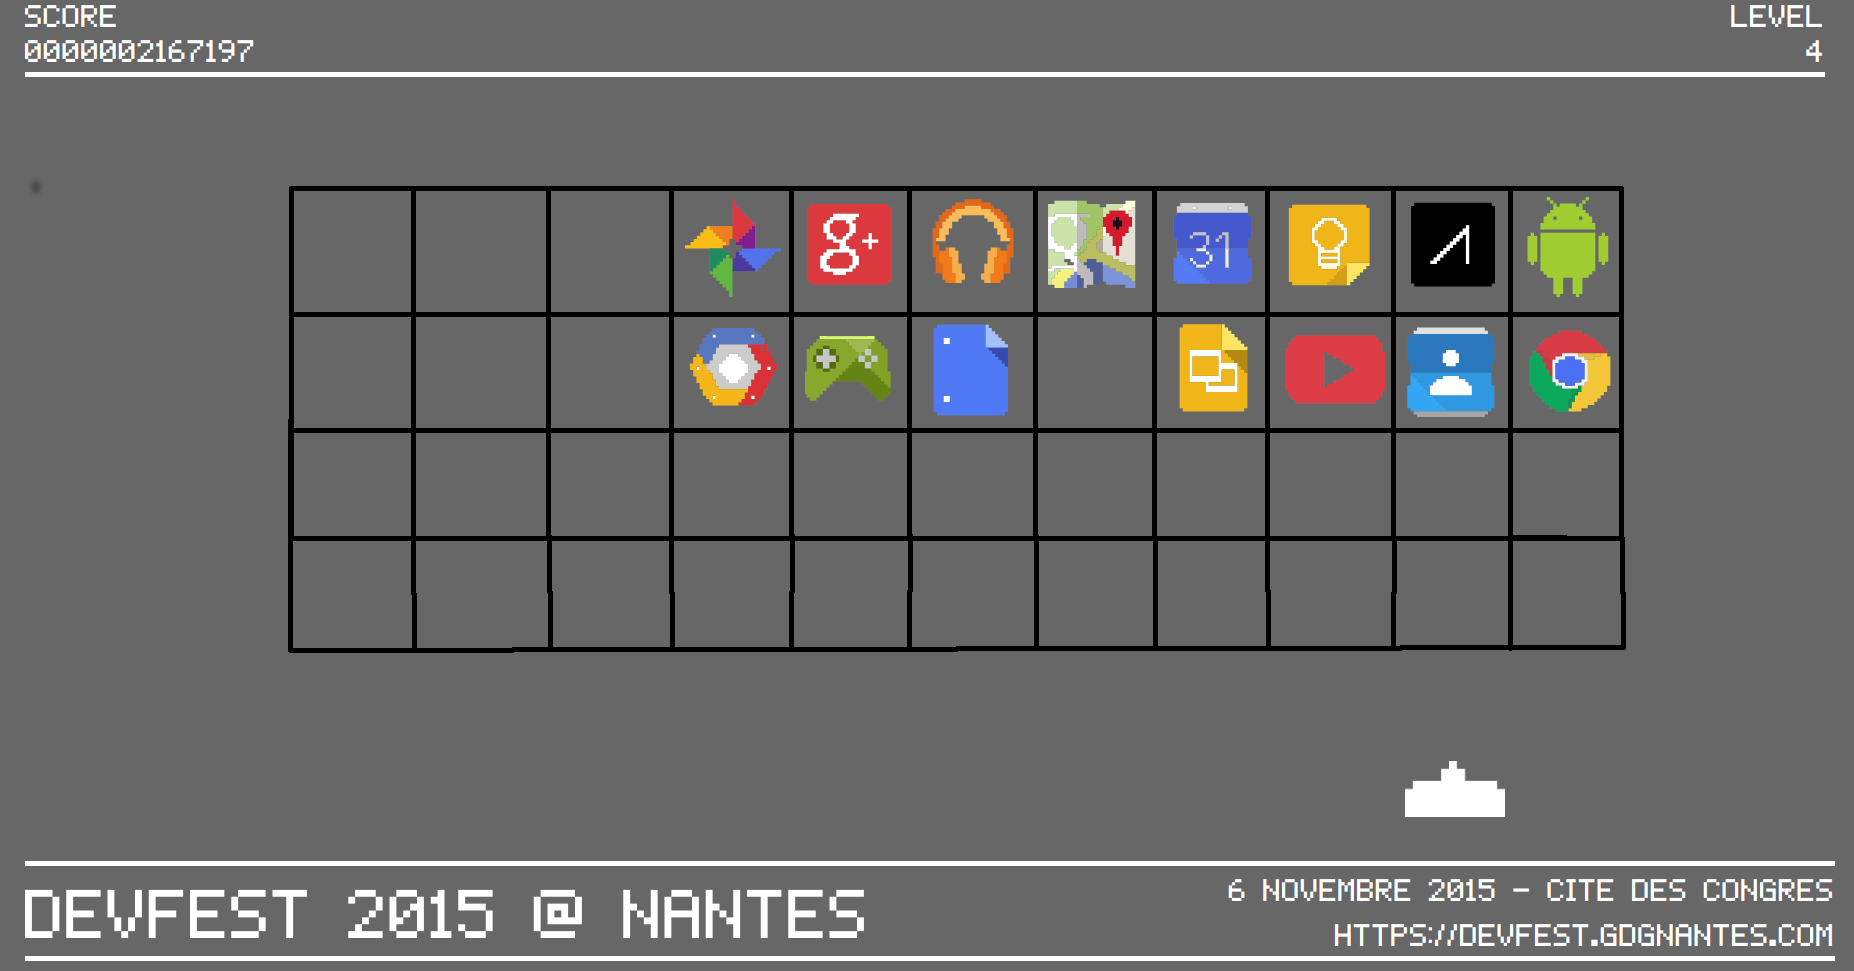
So to play with the grid, I kept a reference of all the logos in a matrix.
mapLogos = [ |
A good practice is to separate the data processing and the data rendering!
In my case, I just want to render a snapshot of the grid. So when I start the initialization of the countdown, I start several setInterval. Each one has its purpose and will separate the different logics.
// First I load the 'sprites' |
As you can see, runAnimation is the only method that renders something on the screen and that’s very important because, I don’t have to do complex calculation, or complex code! In this method, I’m just focused on the rendering.
The destruction of a logo
One of the challenges was to be sure that all logos would be destroyed at the end of the countdown. I tried to make this as automatic as I can. The first thing that is done when the countdown starts is to calculate a few elements :
- The interval between each destruction :
(Now - Final time) / Number of logos - The maximum duration in which a spaceship will be under the current logo
- A random order of destruction that will construct a dynamic stack of destructions orders (one row at a time).
All those calculations let me have a dynamic countdown that will destroy everything at the right time!
Code & Demo
You can find the code here: CountDown DevFest 2015.
If you want to see it in action, have a look here CountDown 2015
What’s Next
See 5 years of DevFest CountDown - Part 2 and 5 years of DevFest CountDown - Part 3
